payment-gateway.app Docs
Getting Started

Provider Setup Guides

Step-by-step configuration for Stripe, GoCardless, Wise, and Wire Transfer.

Provider Setup Guides

Each payment provider requires specific credentials and webhook registration before it can process payments.

Stripe

Stripe is the recommended starting point — it supports cards (Visa, Mastercard, Amex) and can be enabled in test mode instantly.

1. Get Your Stripe API Keys

  1. Log in to dashboard.stripe.com.
  2. Navigate to Developers → API Keys.
  3. Copy your Publishable key (pk_live_... or pk_test_...).
  4. Click Reveal to copy your Secret key (sk_live_... or sk_test_...).

[!CAUTION] Never expose your Stripe Secret key in frontend code, mobile apps, or public repositories.

2. Register the Webhook Endpoint

Stripe must be told where to send payment event notifications. The URL must be on your Main Backend host (MAIN_BACKEND_DOMAIN — hosted: webhook.payment-gateway.app) — Hostnames & DNS conventions.

[!NOTE] For self-hosted stacks using branded webhook domains, keep this hostname stable and under your control. Many providers expect webhook and return/callback URLs to stay on approved domains. If that hostname is behind Cloudflare proxying, review the custom-domain Cloudflare caveat in Hostnames & DNS conventions.

  1. In Stripe Dashboard, go to Developers → Webhooks → Add endpoint.
  2. Set the Endpoint URL to:
    https://webhook.yourcompany.com/hooks/stripe/{providerId}
    (Hosted: https://webhook.payment-gateway.app/hooks/stripe/{providerId}.) 
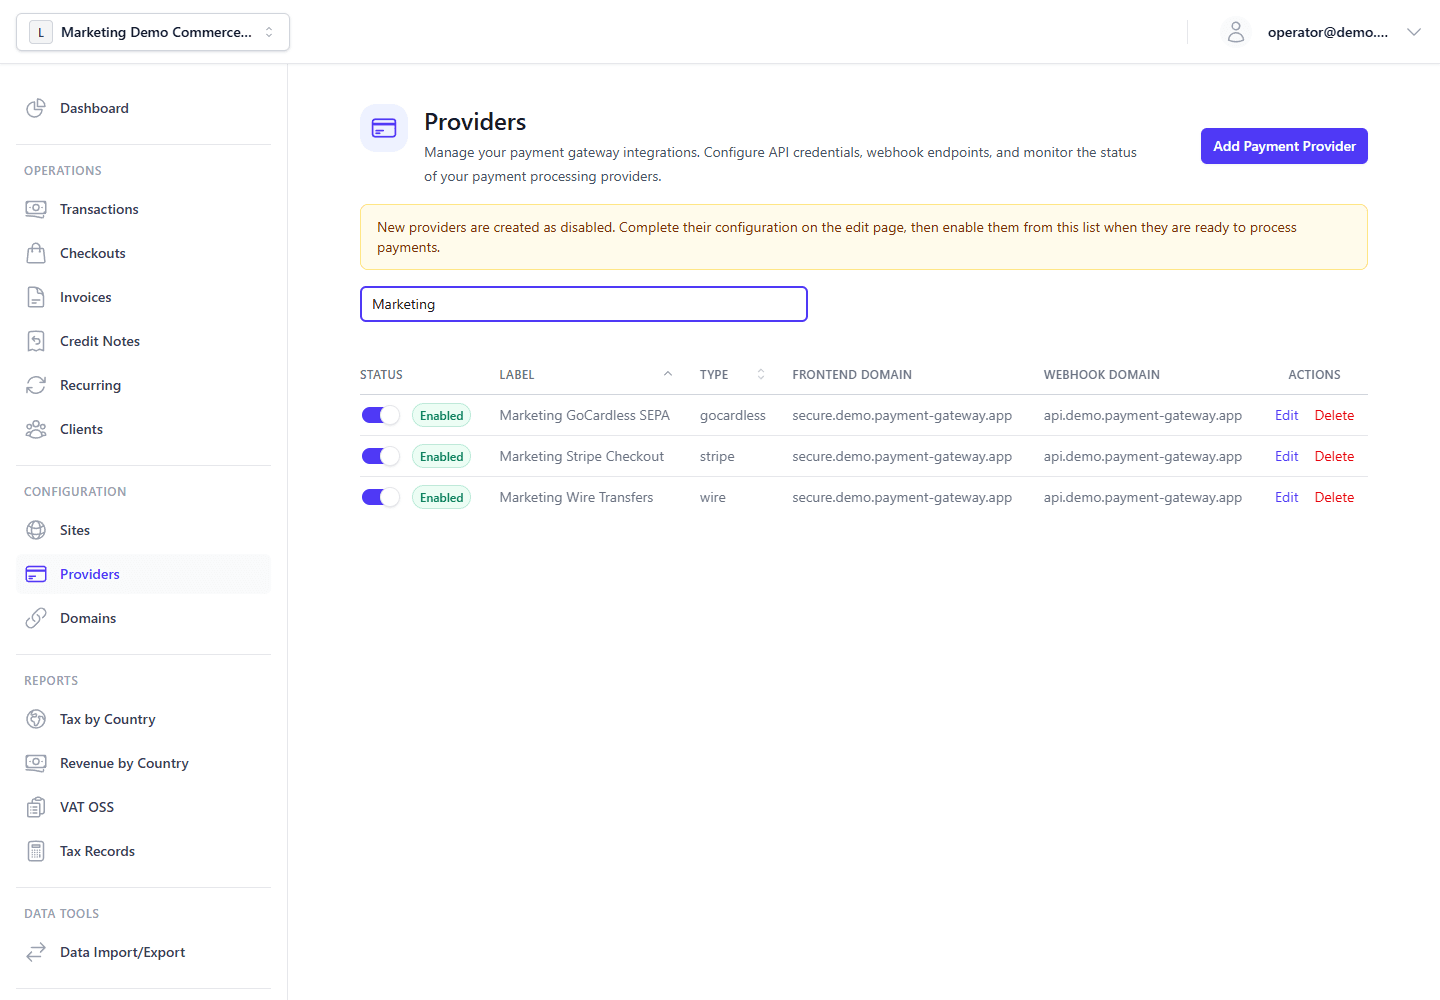
The {providerId} is the MongoDB ObjectId of your provider record — visible in the Admin Panel URL after you create the provider.
  3. Set the webhook Event payload API version to 2026-03-25.dahlia or later. The gateway tolerates signed Stripe webhooks from other API versions, but matching the backend SDK version gives the safest object deserialization.
  4. Under Events to listen to, select only the events you need. At minimum, enable payment_intent.succeeded, payment_intent.payment_failed, charge.succeeded, charge.failed, charge.refunded, and charge.dispute.created.
  5. Click Add endpoint.
  6. Copy the Signing secret (whsec_...).

3. Add Provider in Admin Panel

  1. Navigate to Providers → Add Provider → Stripe.
  2. Fill in:
    • Secret Key: sk_live_...
    • Publishable Key: pk_live_...
    • Webhook Secret: whsec_...
  3. Save.

Test Mode

Use sk_test_... / pk_test_... keys and Stripe test cards (e.g., 4242 4242 4242 4242, any future expiry, any CVC). See Testing Guide.


GoCardless

GoCardless handles direct debit / bank mandates. Customers authorize recurring debits from their bank account.

1. Get Your GoCardless API Keys

  1. Log in to manage.gocardless.com.
  2. Navigate to Developers → API Keys → Create.
  3. Copy the Access Token.

[!NOTE] GoCardless has separate sandbox and live environments with different base URLs. Use the sandbox (api-sandbox.gocardless.com) for testing.

2. Register the Webhook Endpoint

Use your Main Backend host (MAIN_BACKEND_DOMAIN — hosted: webhook.payment-gateway.app) — Hostnames & DNS conventions.

[!NOTE] For self-hosted stacks using branded webhook domains, keep this hostname stable and under your control. If you proxy it through Cloudflare, review the custom-domain Cloudflare caveat in Hostnames & DNS conventions before onboarding merchant custom domains.

  1. In GoCardless Dashboard, go to Developers → Webhooks → Create Webhook.
  2. Set the URL to:
    https://webhook.yourcompany.com/hooks/gocardless/{providerId}
    (Hosted: https://webhook.payment-gateway.app/hooks/gocardless/{providerId}.)
  3. Generate and copy the Webhook Secret.

3. Add Provider in Admin Panel

  1. Navigate to Providers → Add Provider → GoCardless.
  2. Fill in:
    • Access Token: your GoCardless token
    • Webhook Secret: your webhook signing secret
    • Environment: sandbox or live
  3. Save.

Direct Debit Flow Difference

Unlike card payments, GoCardless uses a redirect mandate flow:

  1. Customer clicks Pay on checkout → redirected to GoCardless mandate authorization page.
  2. Customer authorizes the debit mandate at their bank.
  3. GoCardless redirects back to the gateway.
  4. The gateway creates a pending_provider transaction; payment is captured asynchronously (usually within 1–5 business days).
  5. GoCardless sends a webhook when payment clears → transaction moves to succeeded.

[!IMPORTANT] GoCardless payments are not instant. Design your fulfillment logic to handle pending_provider state and wait for the succeeded webhook before delivering goods/services.


Wise (Wire Transfers)

Wise (formerly TransferWise) enables international wire transfers with competitive FX rates.

1. Get Your Wise API Token

  1. Log in to wise.com/user/account.
  2. Navigate to Account Settings → API Tokens → Add new token.
  3. Grant Read and Write permissions.
  4. Copy the token.

2. Get Your Wise Profile ID

In the Wise API, operations are scoped to a Profile ID (your business profile):

curl https://api.wise.com/v1/profiles \
  -H "Authorization: Bearer YOUR_WISE_TOKEN"

Note the id of your business profile.

3. Add Provider in Admin Panel

  1. Navigate to Providers → Add Provider → Wise.
  2. Fill in:
    • API Token: your Wise token
    • Profile ID: your business profile ID
  3. Save.

Wire Transfer (Manual)

Wire Transfer is a manual-confirmation provider — the gateway generates payment instructions and marks transactions as paid when you manually confirm receipt.

Configuration

No external account or API key is required. When creating a Wire Transfer provider:

  1. Navigate to Providers → Add Provider → Wire Transfer.
  2. Enter your bank account details:
    • Bank Name
    • Account Holder Name
    • IBAN (or local account number)
    • BIC/SWIFT
    • Reference Instructions (how customers should label the transfer)
  3. Save.

Payment Flow

  1. Customer selects Wire Transfer at checkout → sees bank details and reference.
  2. Customer initiates transfer from their bank.
  3. You monitor your bank account for incoming transfers.
  4. In the Admin Panel, navigate to the transaction and mark it as Paid manually.

[!NOTE] Wire transfers typically settle in 1–5 business days. The transaction stays in pending_provider state until you manually mark it as paid.

On this page