Checkouts
Creating hosted payment pages or utilizing direct API integration.
Checkouts
A Checkout is a temporary session that facilitates a payment from an end customer.
From the Checkouts tab, you can view all active and historical payment sessions across your Sites.
Creating a Checkout
You have two primary ways to create a Checkout session:
- Dashboard (Manual): For ad-hoc invoices or personalized payment links, you can use the Create Checkout interface directly in the Admin Panel. You define the line items, the currency, and the assigned Site, and the system generates a shareable URL.
- API Integration: Your trusted server-side runtime (backend service, worker, or secure edge function) can programmatically create checkout sessions by calling
POST /api/v1/checkouts/{siteId}/createonADMIN_BACKEND_DOMAIN, for examplehttps://api.yourcompany.com/api/v1/...self-hosted orhttps://api.payment-gateway.app/api/v1/...hosted. Authenticate with ansk_...Organization API key as a Bearer token. Do not use Main Backend (MAIN_BACKEND_DOMAIN, e.g.webhook.*) for this call; that host serves/hooks/...and checkout runtime only. See Hostnames & DNS conventions.
Invoice detail pages also create invoice-bound checkout links. Those links default to the invoice outstanding amount, can be partial down to 0.50, and use the invoicing payment-link expiry setting unless an explicit expiry is supplied.
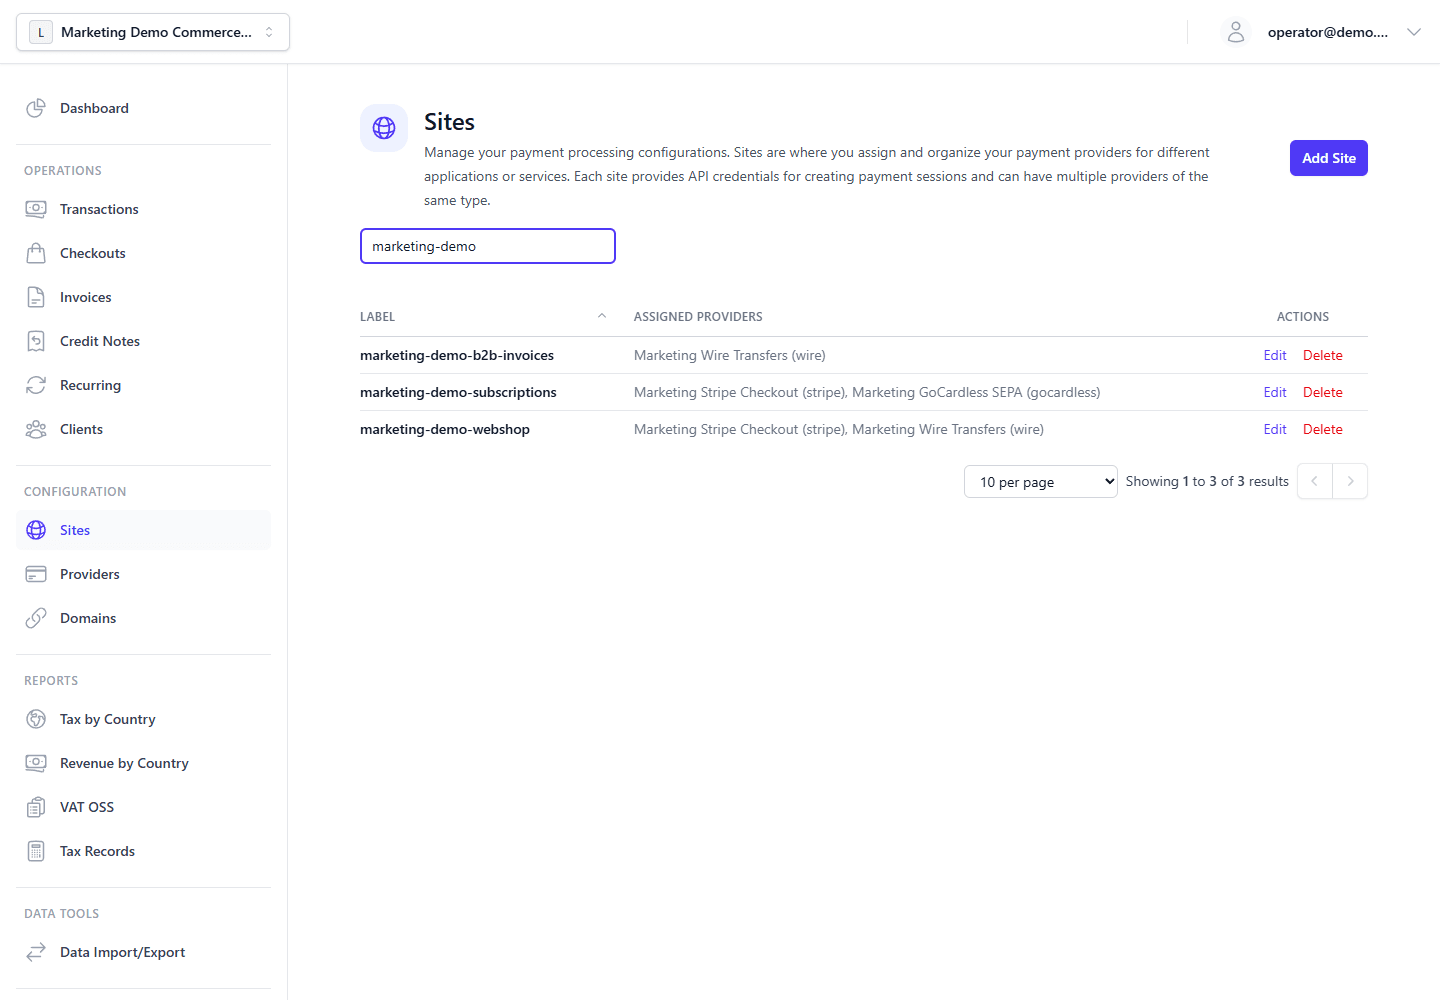
Sites define the checkout surfaces and provider routing used by both manual and API-created checkout sessions.
The Customer Experience
Once a Checkout is created, it yields a unique URL on the checkout frontend host selected for the session: the default MAIN_FRONTEND_DOMAIN or, when provider frontend routing applies, the selected provider's frontend domain (e.g. https://secure.yourcompany.com/checkout/xyz123, https://wire.yourcompany.com/checkout/xyz123, or hosted https://secure.payment-gateway.app/checkout/xyz123).
This URL is served by the Main Frontend hosted checkout page. The page uses fixed gateway styling; it does not apply per-site logo or color branding from the Site record.
When the buyer opens the page, they see:
- Order summary — external reference and/or invoice number (when present), the payable total, and a tax-included note when prices are tax-inclusive and tax is non-zero. Line items are not listed on the checkout page; itemized lines appear on invoice and credit-note views in the Customer Portal and on PDF documents.
- Billing details — shown, hidden, or required according to checkout settings (
billingDetailsMode, per-fieldbillingFieldModes, VAT invoice mode, and VAT ID validation mode). - Tax preview — as billing or shipping details change, the page can refresh net, tax, gross, and breakdown totals via the tax-preview endpoint (see below).
- Payment providers — the Site's assigned providers (for example Stripe Elements, Mollie or PayPal checkout, GoCardless mandate forms, Wise transfer flows, or wire-transfer instructions). When more than one provider is available, the buyer selects a method before the provider UI loads.
Dispute and Customer Risk Holds
Checkout creation can be blocked or limited by dispute state:
- Open or under-review disputes block new checkout creation for the same buyer as an unresolved dispute. The Admin API returns
409 ConflictwithCHECKOUT_BLOCKED_BY_DISPUTEand arequestId. - Final dispute outcomes are not treated as unresolved disputes.
wonrestores the payment-side dispute effect and does not create a credit note.lostandacceptedare final merchant-loss outcomes. - Customer Risk Holds can be created after final merchant-loss outcomes. The default policy limits future checkout sessions for that customer to safe manual provider types such as
wireorwise, when those providers are assigned to the Site. If no allowed provider is available, checkout is blocked with a support-saferequestId.
When a customer risk hold allows safe methods, the hosted checkout page shows that payment methods are limited and only renders the allowed providers. Server-side provider authorization enforces the same restriction, including direct billing-request calls.
Checkout Tax Integration
Checkout totals are calculated in two stages:
- The checkout page loads the session from
GET /api/v1/checkouts/{sessionPublicId}. The response includes current totals and the effective checkout VAT validation mode. - As the buyer enters billing/shipping details, the checkout page can call
POST /api/v1/checkouts/{sessionPublicId}/tax-previewto show the current backend-calculated net, tax, gross, and tax breakdown. - When the buyer submits payment,
POST /api/v1/transactions/createrecalculates tax authoritatively and stores the transaction tax snapshot.
The preview and final transaction use the same organization tax settings, rates, rules, rounding method, gross/net price mode, VAT validation behavior, and OSS evidence rules. If VIES validation is disabled in Settings > Tax, a checkout preference of vies is downgraded to format-only validation at runtime.
[!CAUTION] The checkout flow is designed to keep cardholder data entry inside payment-provider UI components (for example, Stripe Elements) rather than being processed directly by your backend integration. Treat this as implementation scope guidance, not as assessment advice for your PCI DSS environment.
For Stripe, the backend stores the PaymentIntent ID as the provider reference. The paymentIntentClientSecret is returned only in the checkout response or the immediate cancel/retry response that needs to initialize Stripe Elements; it is not retained in session or transaction records.
See Payment Data Boundary before adding custom checkout extensions, analytics, session replay, or proxy logic to the payment page.
Return And Cancel URLs
When creating a Checkout programmatically, you can specify returnUrl and cancelUrl.
After the customer completes the flow on the hosted page, they will be redirected back to your application, optionally with the transaction ID appended to the query string to allow you to fulfill their order instantly.